1. 테스트를 위한 계산기 작성
|
1
2
3
4
5
6
7
8
9
10
11
12
13
14
15
16
17
18
19
20
21
|
package Calculator;
public class Calculator {
int add(int i, int j) {
return i+j;
}
int subtract(int i, int j) {
return i-j;
}
int muliply(int i, int j) {
return i*j;
}
int devide(int i, int j) {
return i/j;
}
}
|
cs |
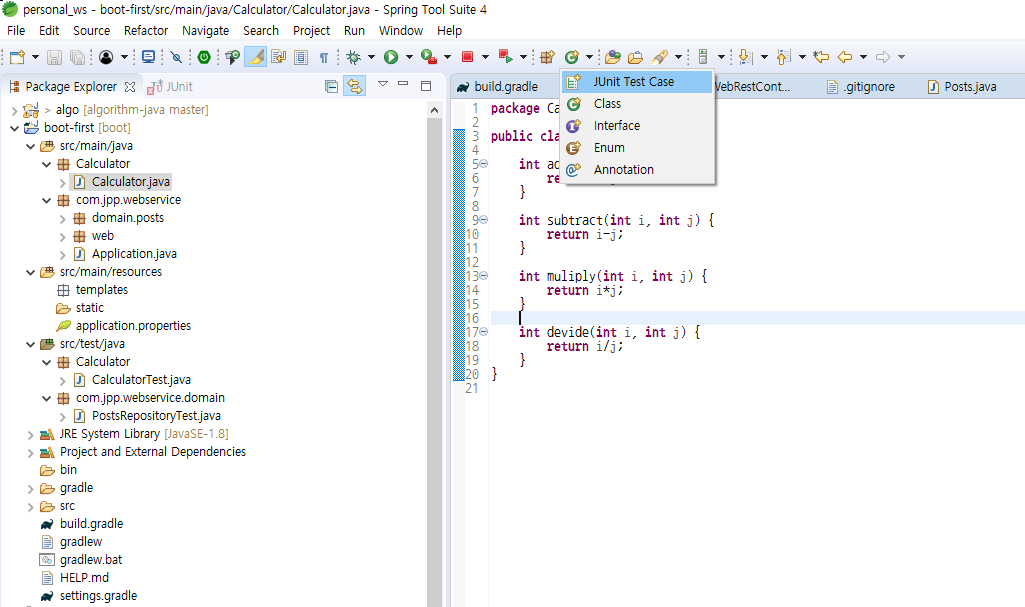
2. junit 테스트 케이스 생성
1) 클래스 생성 버튼 우측의 화살표 버튼을 눌러 JUnit Test Case 선택
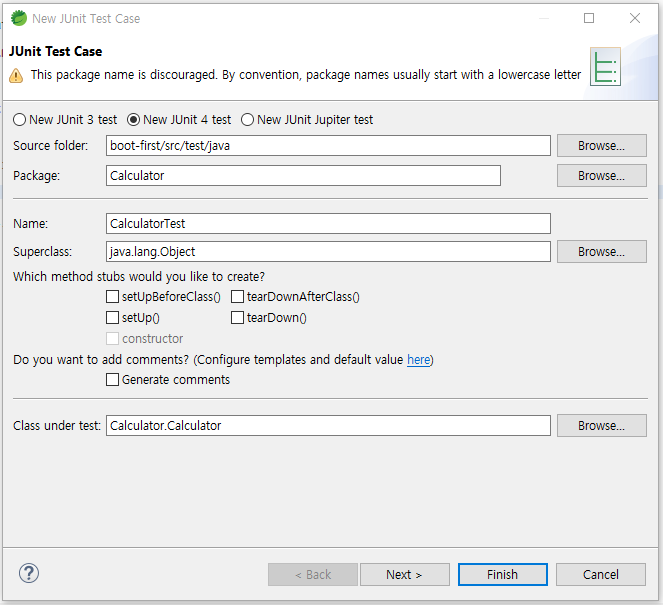
2) JUnit Test 를 위한 JUnit 클래스 생성
Test 대상 Class뒤에 Test 를 붙여 이름을 짓는게 관례(Calculator+Test)
3. junit 테스트 케이스 작성
1) 기본적으로 생성된 test() 메소드 제거 후 아래와 같이 코딩
: add() 메소드 테스트
: assertEquals 는 버전에 따라 deprecated 된 메소드가 있으니 잘 보고 사용
|
1
2
3
4
5
6
7
8
9
10
11
12
13
14
15
16
17
|
package Calculator;
import static org.junit.Assert.*;
import org.junit.Test;
public class CalculatorTest {
@Test
public void add() {
Calculator cal = new Calculator();
cal.add(1, 2);
assertEquals("", 3, 3);
}
}
|
cs |
2) 지역 변수 cal 을 필드로 빼서 사용하기
11번라인의 Calculator cal = new Calculator(); 를 8번 라인으로 빼서 필드로 사용이 가능하나, @Before를 사용하자.
필드 초기화를 전역에서 명시적으로 수행할 경우, 테스트간 독립성이 보장되지 않는다.
반면 @Before 사용시 add(), devide() 와 같은 테스트 메소드 실행시마다 인스턴스를 초기화 하여
테스트간 독립성이 보장된다.
|
1
2
3
4
5
6
7
8
9
10
11
12
13
14
15
16
17
18
19
20
21
22
23
24
25
26
27
28
29
30
31
32
33
34
35
36
37
38
39
|
package Calculator;
import static org.junit.Assert.*;
import org.junit.After;
import org.junit.Before;
import org.junit.Test;
public class CalculatorTest {
private Calculator cal;
@Before
public void setup() {
cal = new Calculator();
System.out.println("setup !!!");
}
@Test
public void add() {
int r = cal.add(2, 3);
assertEquals("sc", 5, r);
System.out.println("add !!!");
}
@Test
public void devide() {
int r = cal.devide(3, 3);
assertEquals("success", 1, r);
System.out.println("devide !!!");
}
@After
public void teardown() {
System.out.println("teardown !!!");
}
}
|
cs |
[실행 결과]
setup !!!
devide !!!
teardown !!!
setup !!!
add !!!
teardown !!!
위처럼 @Before, @After 는 테스트 메소드 실행시마다 호출됨을 확인 할 수 있다.
참고 : 박재성님의 유투브 강의 https://www.youtube.com/watch?v=tyZMdwT3rIY
반응형
'back > Spring Boot' 카테고리의 다른 글
| Resilience4j / CircuitBreaker 개념 (0) | 2023.05.10 |
|---|---|
| [logback] 로그파일 분기처리하기 : SIFT 사용 (0) | 2022.07.14 |
| token, jwt , oauth 2.0 (0) | 2019.12.17 |
| [Spring Boot] 게시판 만들기 4 : JUnit 을 활용한 단위테스트 (0) | 2019.09.20 |
| [Spring Boot] 게시판 만들기 2 : DB 연동 및 Mybatis 설정 (0) | 2019.09.19 |